
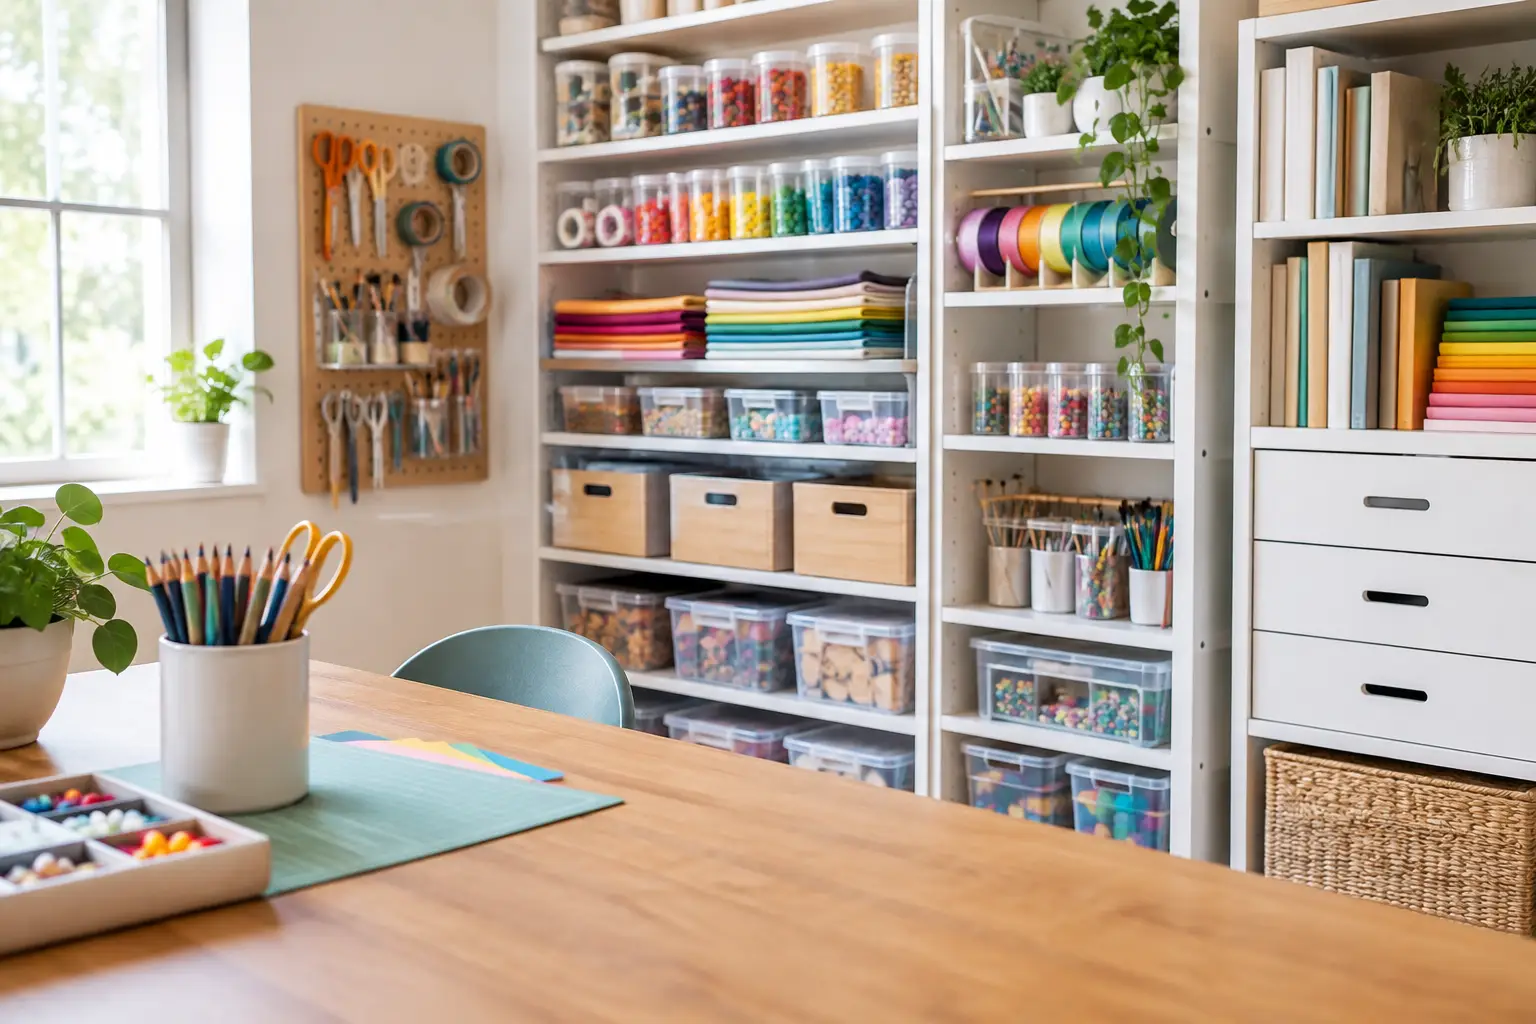
A craft room can fill up faster than almost any other room in the house. Paper, fabric, paint, cutting tools, machines, and half-finished projects all need a home, but they also need to stay within reach when inspiration strikes. The best craft room storage ideas do more than hide supplies. They make it easier to start a project, put it away, and enjoy the room without working around clutter.
For Quad Cities homeowners, a well-planned craft space can turn a spare bedroom, basement corner, or multipurpose room into a comfortable place to create. The right combination depends on what you make, how much you own, and whether the room needs to serve another purpose. These practical ideas can help you plan a space that works hard without feeling crowded.
Start With the Work Surface
Before choosing bins or shelves, decide where projects will happen. A sturdy work surface is the center of a functional craft room. It should be large enough for your most common project, whether that means cutting fabric, assembling scrapbook pages, or using a sewing machine.
A built-in countertop is especially useful because it can be sized to the room and installed at a comfortable height. Drawers or cabinets below the surface keep the tools you use most often close at hand while leaving the top clear. If two people use the room, a longer shared worktable or an island can provide needed elbow room.
Avoid making every surface permanent, though. A folding extension or pull-out work surface is a smart option in smaller rooms. It gives you extra space when needed and preserves an open walkway when the project is finished.
Build Storage Up the Walls
Floor space disappears quickly when every supply is stored in a cabinet or rolling cart. Wall-mounted storage makes better use of vertical space and keeps frequently used materials visible.
Open shelves work well for labeled bins, baskets, paper trays, and display-worthy materials. Adjustable shelving is worth considering because storage needs change. A shelf height that works for paint bottles today may need to hold larger containers, fabric bins, or a new cutting machine next year.
For a cleaner look, combine open shelving with closed cabinets. Use open areas for supplies you reach for often and cabinets for backup materials, less attractive packaging, or items that create visual clutter. This mix keeps the room practical without making it feel like a supply closet.
Choose Drawers for Small Supplies
Small items are usually the source of craft-room frustration. Scissors, glue sticks, markers, beads, stamps, blades, needles, and adhesives can disappear into deep cabinets or become tangled in a single catch-all bin.
Shallow drawers offer a much better solution. Drawer dividers let you give each category a defined place, so supplies are easy to find and easy to return. Clear organizers are helpful when you want a quick visual inventory, while solid dividers can create a calmer appearance.
Think about the way you work when assigning drawers. Keep cutting tools near the cutting surface, sewing notions near the machine, and adhesives near the assembly area. Storage that follows the workflow saves time and reduces the pile-up that happens when items are put down wherever there is room.
Give Paper Its Own System
Paper crafting supplies need protection as much as organization. Cardstock, scrapbook paper, vinyl, patterns, and specialty sheets can bend, fade, or become impossible to sort when stacked in a deep drawer.
Vertical paper slots or pull-out trays make it easier to see colors and patterns. Store paper upright by size, type, or color, but choose one method and keep it consistent. If you buy paper in larger quantities, reserve a separate space for unopened packages so your active collection stays manageable.
A cabinet with shallow pull-out shelves can be a strong long-term choice for paper storage. It provides support across the full sheet, protects materials from dust, and allows you to access the back of the collection without unloading an entire stack.
Use Clear Containers With Simple Labels
Clear containers are useful for materials that come in many colors or sizes, including buttons, beads, ribbons, washi tape, embellishments, and paint. Seeing the contents at a glance helps prevent duplicate purchases and makes cleanup less of a chore.
Labels still matter, even on transparent bins. A simple label identifies the category and tells everyone in the household where the item belongs. Keep labels broad enough to be practical. “Card-making supplies” may work better than separate labels for every tiny tool unless you have a very large collection.
Choose containers that fit the shelves or drawers rather than buying containers first. A mismatched group of bins can waste valuable inches and make a custom storage system harder to use.
Store Fabric by Size and Project Type
Fabric is bulky, flexible, and easy to forget when it is tucked into a closed tote. Smaller cuts can be folded around boards and stored upright in drawers or cubbies, much like files. Larger pieces often work better on shelves in labeled baskets or behind cabinet doors.
Keep active projects separate from your general fabric supply. A dedicated project bin, drawer, or pull-out basket holds the fabric, pattern, thread, and notes for one project together. That simple boundary prevents unfinished work from taking over the main table.
If you quilt, sew, or use a machine regularly, plan for the machine itself. A lower cabinet or a lift-equipped work surface can reduce the hassle of carrying heavy equipment in and out of storage. It also helps protect the machine from dust when it is not in use.
Add a Pegboard Where Flexibility Matters
Pegboard is a useful option for tools that need to be seen and reached quickly. Scissors, rulers, punches, rotary cutters, cords, and small baskets can all hang at eye level instead of crowding a drawer.
The advantage of pegboard is flexibility. Hooks and baskets can move as your hobbies change. The trade-off is that it creates an open display, so it is best for supplies that look tidy when grouped together. In a more polished room, place pegboard inside a cabinet door or behind a folding panel.
Plan a Home for Rolling Carts
A rolling cart can be helpful, but only when it has a purpose and a parking place. Use one for an active project, a portable supply station, or materials that move between rooms. If the cart simply collects overflow, it will become another clutter zone.
Build a narrow space beside a cabinet bank, under a counter overhang, or at the end of a worktable where the cart can be stored out of the walking path. This keeps the flexibility of a movable station without sacrificing the room's order.
Use Cabinet Doors and Narrow Gaps
Some of the most useful craft room storage ideas come from overlooked spaces. The inside of a cabinet door can hold shallow racks for paint, ribbons, brushes, or cleaning supplies. A narrow vertical pull-out beside a cabinet can organize vinyl rolls, wrapping materials, or tall tools that do not fit well in standard drawers.
These features are especially valuable in compact rooms because they add storage without increasing the room's footprint. They also keep specialty items contained instead of leaning against a wall or taking up countertop space.
Create a Zone for Each Craft
A room shared by several hobbies needs clear zones. Sewing supplies, paper crafts, painting materials, and kids' projects do not have to compete for the same drawer space. Assign a cabinet, shelf section, or drawer bank to each activity.
This approach does not require a large room. Even a small closet-based craft area can have zones when the storage is planned carefully. The goal is to avoid mixing unrelated supplies, which makes it harder to find what you need and harder to know what you already own.
Keep Frequently Used Items Within Reach
The most convenient storage is not always the most hidden. Place everyday tools between waist and eye level, where they are easy to grab without bending, stretching, or moving other supplies. Reserve high shelves for seasonal items, bulk purchases, and materials used only occasionally.
This is where custom cabinetry can make a noticeable difference. Shelf spacing, drawer depth, cabinet height, and accessory placement can be designed around the way you actually create. Comfort Concepts QCA helps homeowners make those decisions before storage is built, so the finished room supports daily use instead of forcing a one-size-fits-all setup.
Leave Room for Projects in Progress
A craft room should not require you to finish every project in one sitting. Set aside one drawer, cabinet shelf, or rolling bin for works in progress. It gives unfinished materials a safe place to wait and allows the main workspace to be cleared for the next activity.
If the room also serves as a guest room, office, or family space, closed storage becomes even more valuable. Doors can quickly create a calm, finished appearance while keeping creative supplies ready for the next free afternoon.
Reassess Before the Room Fills Again
Storage works best when it is reviewed from time to time. Once or twice a year, sort through old materials, dried-out products, duplicates, and supplies for hobbies you no longer enjoy. Donate usable items when possible and make room for the work you truly want to do.
A comfortable craft room is not one with the most storage. It is one where every supply has a sensible place, your workspace is ready when you are, and creating feels like a break from household clutter rather than another source of it.